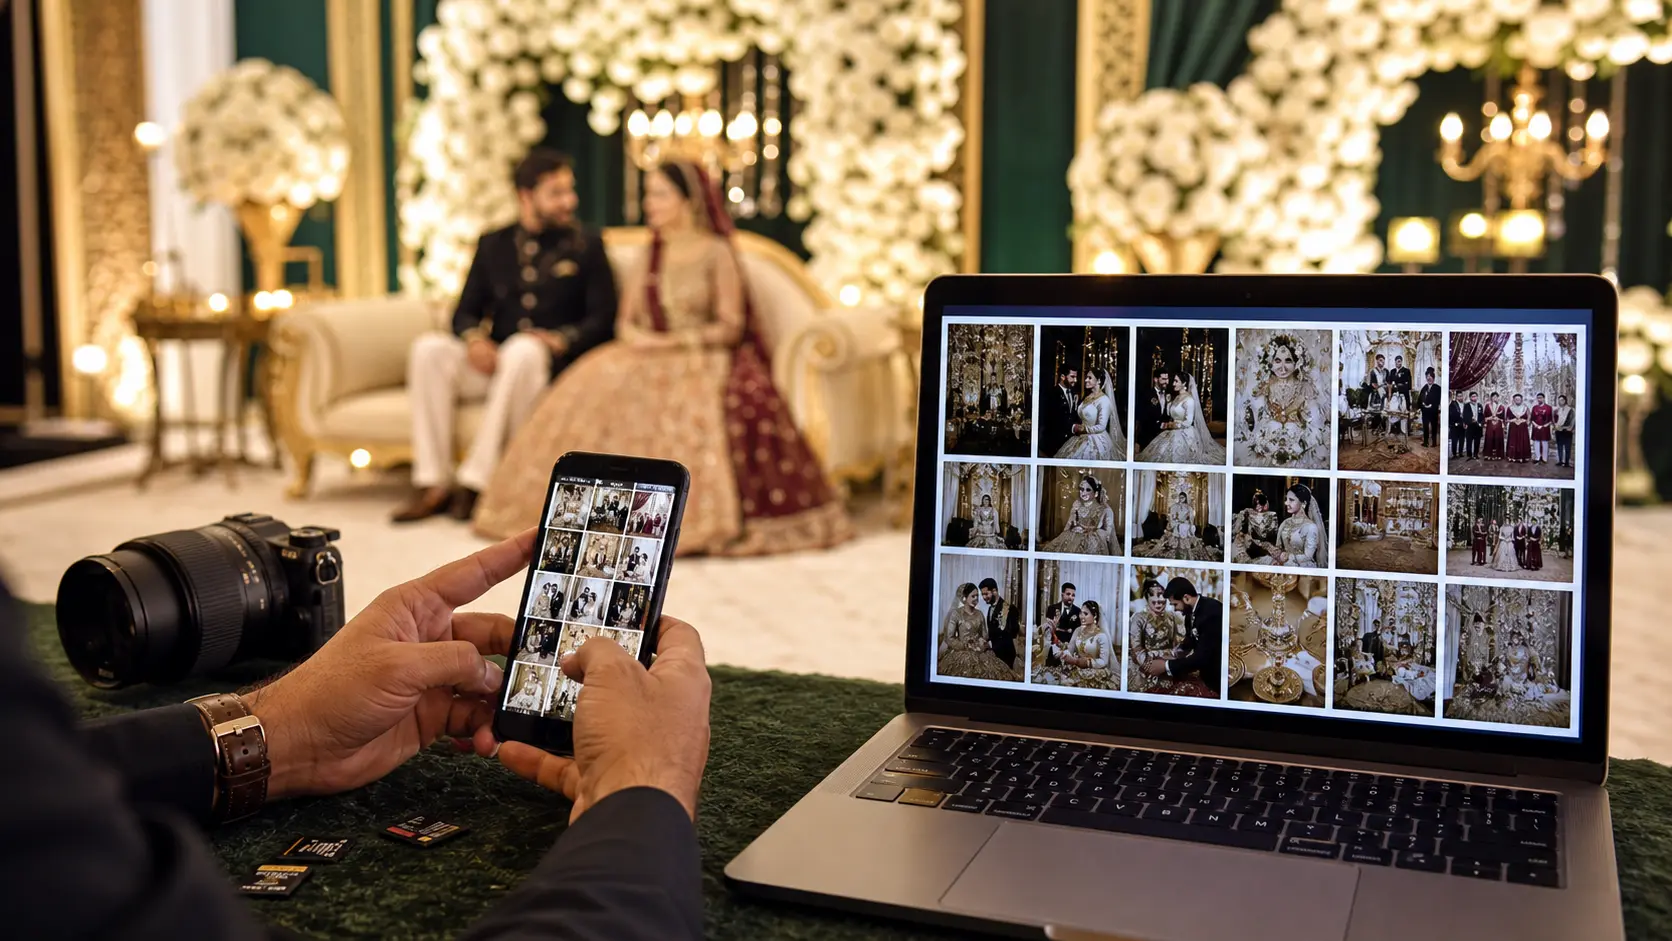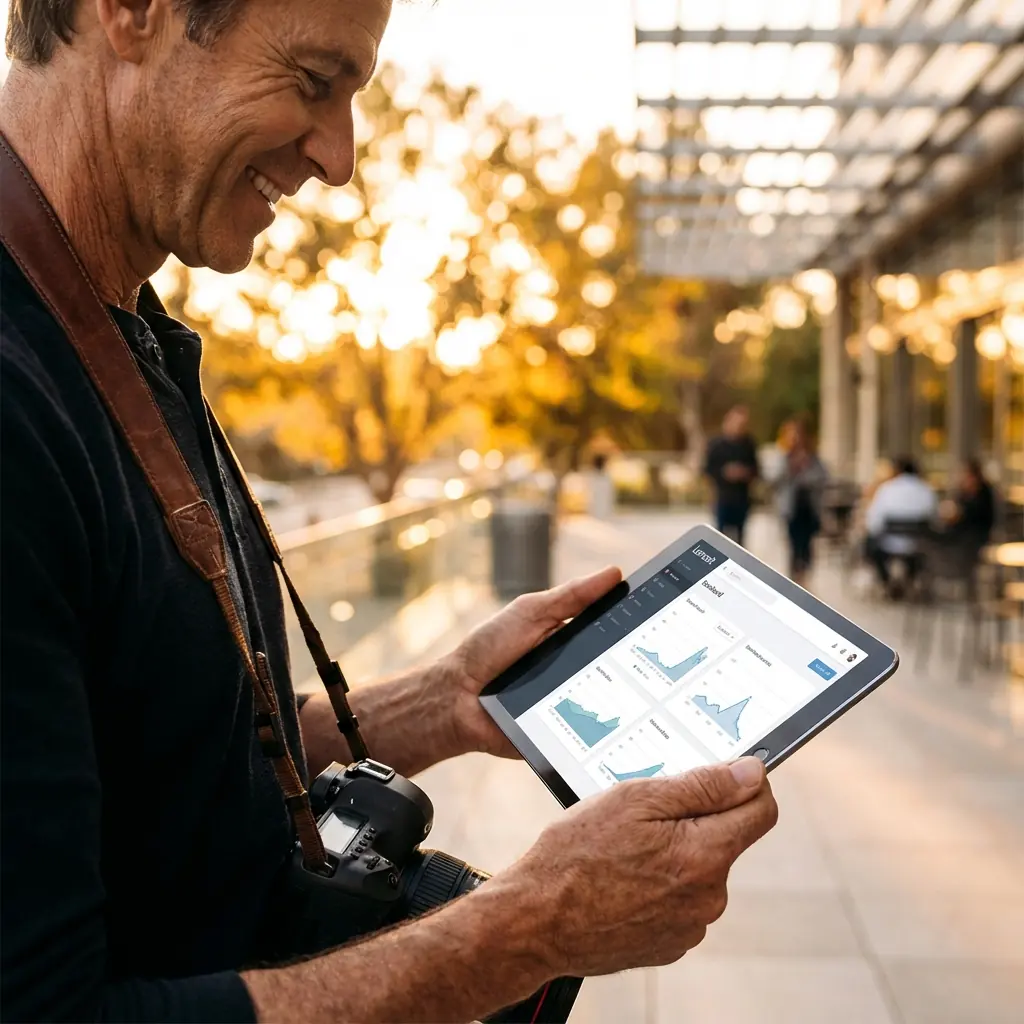
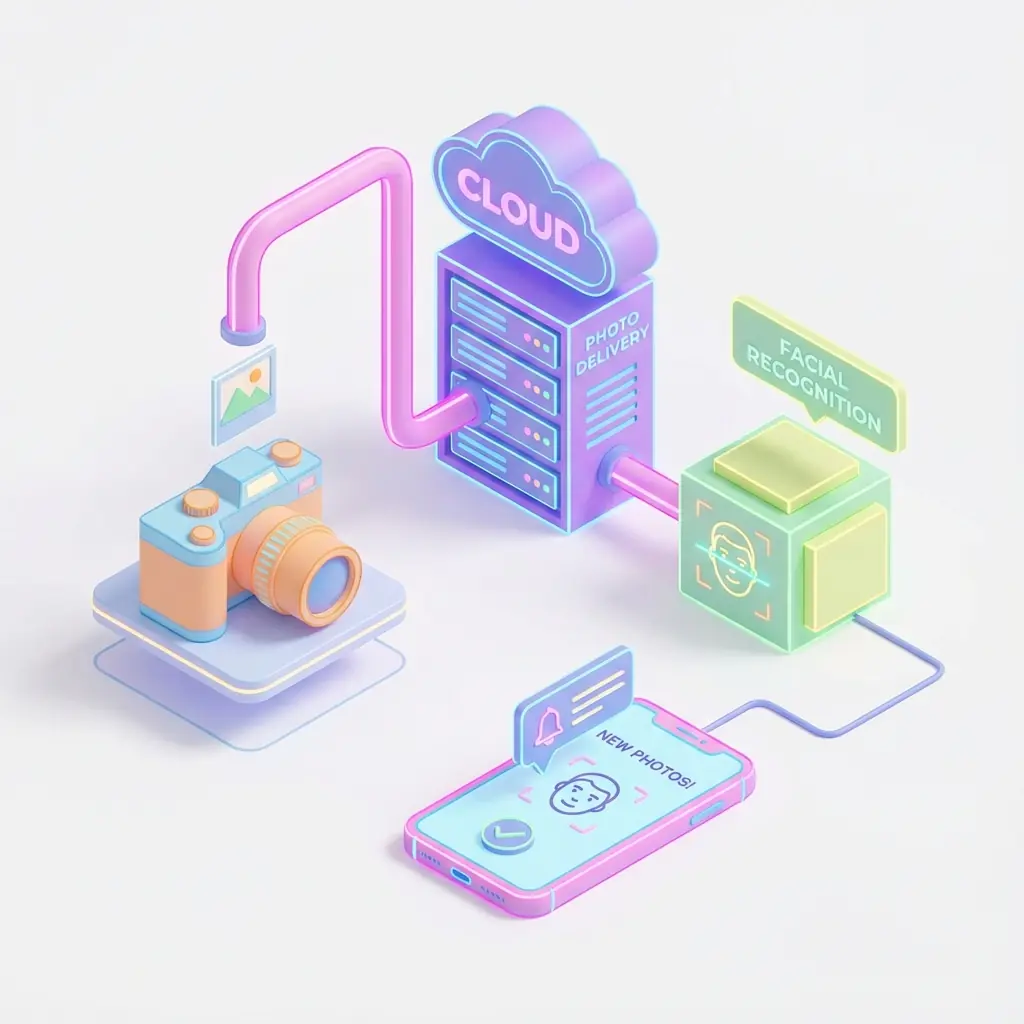
The Lenzeit workflow is four steps: upload your event photos, let AI sort them by face, review the selections, then deliver private galleries to each guest. This guide walks through every step from shoot to secure delivery.
Complexity is the enemy of execution. Photographers don’t lose time because they lack talent they lose time because delivery systems are messy. Lenzeit is designed to keep things simple: upload, AI organize, and deliver privately.
What You’ll Achieve With This Workflow
- ✓Faster turnaround with workflow automation
- ✓Less admin work (fewer folders, fewer emails)
- ✓Better privacy through private delivery
- ✓More engagement because guests find photos quickly
Before You Start: Quick Setup Checklist
- Export only your final selects (saves storage)
- Use consistent JPEG format
- Have your event name and date ready
- Prepare your branding logo and colors
The Lenzeit Workflow: Step-by-Step
Step 1: Create Your Event
Start in the dashboard and create your event using a clear naming convention. Add basic details like date and location, then apply branding so your delivery feels premium.
Step 2: Upload Photos (No Folder Chaos)
Drag and drop your final JPEG exports. No need to create folders by guest or group. Lenzeit's AI does the heavy lifting after upload.
Step 3: AI Photo Sorting
Once images are in, Lenzeit begins AI photo sorting. The system analyzes faces and organizes photos so guests can quickly access images they appear in.
Step 4: Notify & Deliver
Deliver with confidence. Guests receive access details without exposing the entire event gallery to everyone.
Pro Tip
Use a short, friendly delivery message to reduce support emails. Tell guests exactly how to access their private gallery.